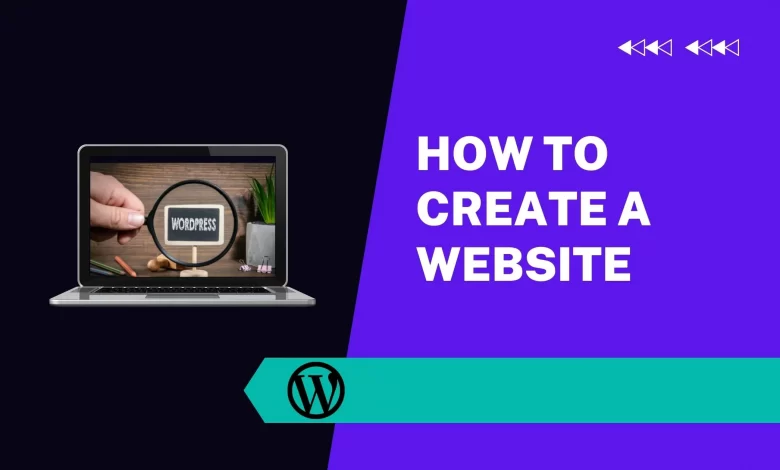
What if I told you that today you could have your own website? For free?
I know what you’re thinking. But it’s true! Creating a website is easier than ever before with all of the different site builders available. These tools allow you to create a professional-looking website to showcase your business or share your thoughts with friends and family.
But, how do I get started? Should I use a site builder or learn HTML and CSS coding?
This blog post will answer those questions and more so that you can create your own awesome website.
Site builders vs HTML and CSS
There are two different ways you can create a website.
Site builders are popular and easy to use. All you need to do is choose a template that best suits your style, and then customize it with your own text and images. You may want to take some time to learn about how site builders work before getting started, but the process of building a site will be simple for most people.
HTML and CSS coding is not as user-friendly as site builders, but it offers more power and control over the design of your website. If you don’t have any coding experience, you might want to start with a site builder or hire someone who knows what they’re doing.
Choosing a site builder
There are many site builders on the market today, but not all of them are created equally. Some sites charge a monthly fee to use their services while others are completely free. To help you decide which site builder is best for you, we’ve compiled a list of six factors that should be considered before making your decision:
* ease of use
* templates
* design
* features
* customer service
* price
Once you figure out what matters most to you, then it will be easier to make your decision. For example, if you want a website that is going to provide the easiest possible experience for you, then Wix and Weebly would be a better option than Squarespace or WordPress. If you want an attractive website with lots of design options, then Squarespace would be a better option than Wix or Weebly. But if SEO is your concern and cost isn’t an issue, then WordPress will give you more control over SEO than any other platform since it’s open-source.
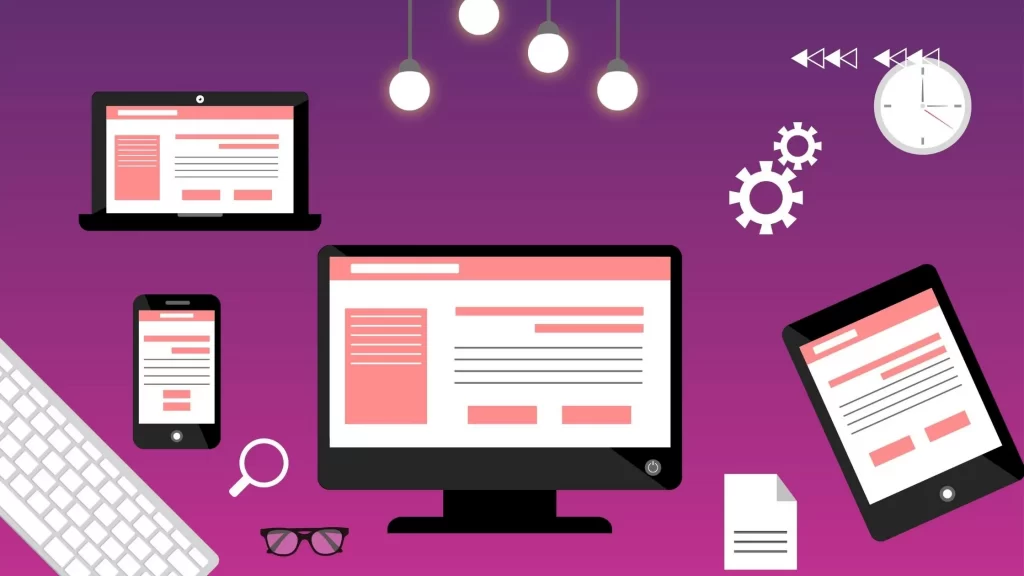
Designing your site
The first step in the process of designing your website is knowing what you want. Do you want a site to showcase your business products? Maybe you would like a personal blog. If so, which topics do you want to write about? What colors and themes do you want your website to have?
Once you know what you want, there are many ways that sites can be created with website builders. Let’s look at two options: WordPress and Wix.
Choosing a domain name
The first step to getting a website is deciding on a domain name. Your domain name is the name that people will type in their browser when they want to visit your site. Usually, you choose a domain name that reflects your business or product. But if you can’t find one, it doesn’t have to be too creative with words like “dentist” and “sales.”
For example, say I wanted to create a blog about dentistry. I could use “MyDentistBlog” as my domain name or something else like “Dentistry101.” If I wanted to make it more creative, I could go with something like “GumFixers101.”
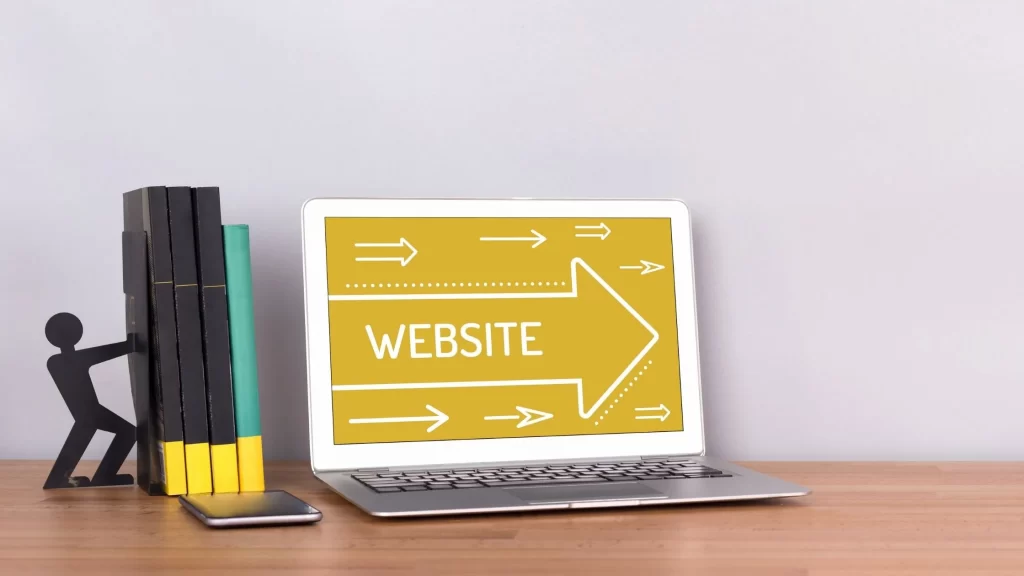
Setting up your website
The first step in getting your website up and running is to choose your site builder. There are a wide variety of site builders available with different options, layouts, and templates.
Choosing a site builder:
There are many factors to consider when deciding which site builder to use. Some site builders offer free plans while others have very expensive monthly subscriptions. As you research different builders, look at their features, pricing, and reviews before deciding on one. My favorite option is Wix because it has many free templates, the ability to upgrade for more features if desired, and an amazing customer service team who will help you out with any issues that may arise.
Designing your website:
After choosing your site builder, you need to create a basic design for your website by selecting from the layouts or templates available within the builder. These layouts can be customized as much or as little as needed to meet your personal preferences or brand design guidelines. Keep in mind that there are restrictions on what you can change depending on how much the template costs (free vs paid). For this blog post we’ll use Wix since it offers both free and paid templates with the same layout tools–but keep in mind that other site builders may not be as flexible in terms of editing designs and font styles.
Adding content:
Once you have chosen your layout options, you need to add content such as text, images, videos, and links to populate each page of your
Basic setup
Once the site builder is installed, you can start building your site by selecting a template. The template will likely include a header and background image or color. You should also choose the language you want to use, which will dictate what other languages are available to you.
So, now that we’ve covered the basics of website creation, it’s time to delve into more advanced features!
Uploading files using FTP
The first step to creating a website is choosing a site builder. There are many site builders available, including Wix and Weebly. These site builders are easy to use and allow you to create a professional-style website without learning code languages like HTML or CSS.
But, as great as these site builders can be, they do have limitations and may not offer the features you need for your website. If you want more control over your website, then it’s probably best that you learn how to code using HTML and CSS.
Uploading files using FTP is a good way to start learning about coding HTML and CSS. To upload files using FTP, start by opening your browser on a PC or Mac computer (or even your mobile phone). Click on Filezilla – an FTP client that will help transfer files from one device to another.
Next, choose the folder of where you have uploaded your files from your computer onto the web server. This will most likely be in the public_html folder of the root directory.
Now, click on the Site Manager tab at the top of the screen in Filezilla and then click on Site List in order for Filezilla to list all of the folders available on this web server that you could upload files into with FTP (see below).
Then select which folder you’d like to upload files into—in this example it would be public_html – and click ‘OK’ at the bottom of the page under “
Configuring your website
Once you’ve created your website using a site builder, you’ll want to customize it. This is where the fun begins! You can create text links, change colors, add pictures and videos, and so much more with the drag-and-drop features of your site builder. You can even add plugins or widgets that will display key information about your business like social media feeds, ad campaigns, a contact form, and much more!
Customizing your website is easy when you have access to these valuable tools. It gives you the opportunity to showcase your expertise in an attractive way that will inspire people to contact you for help.
Adding content to your site
The first thing you need to do is add content to your site. This will make it feel like a real, living site instead of an empty page. You may want to create a blog or write about your products or services.
Most people start with the homepage of their website and then work their way down from there.
Adding blog posts
A website is only as good as the content it offers, which is why blog posts are an important component.
Blog posts can be created with a site builder or with HTML and CSS coding. Blog posts can be used to share posts about your company, promote products, offer tips or advice, post photos and videos, or provide commentary on current events. As long as you are creating interesting content that will captivate your audience, you will have a successful website.
Adding photos to albums
Once you’ve got a few blog posts up and running, it’s time to think about adding some photos. Your blog is going to need some visuals to fill the space. You can upload them through your WordPress Media Library or use an option like Flickr or Instagram.
Uploading photos to your WordPress media library is easy with just a few clicks of the mouse. If you upload them on the same computer as your site, they should automatically be uploaded in your WordPress Media Library. To see if they’re there, go to “Add New” on your website and look for “upload media” in the right-hand column.
If you want to upload photos from another computer then you will need an FTP program (many site builders have this built-in). These programs will let you upload files from one computer onto another without too much hassle.
Conclusion
Now that you know the basics of how to create a website, you’re ready to take it one step further and make your site the one that stands out from the crowd.
Whether you’re just starting out or your company has been around for years, it’s always a good idea to keep your site fresh with new content and design. And by taking these steps, you’ll be well on your way to building a site that will help you grow your business!

I needed to thank you for this great read!! I certainly enjoyed every bit of it.
I have you book marked to look at new things you post…
Excellent beat ! I wish to apprentice whilst you amend your web site, how can i subscribe for a blog website?
The account aided me a applicable deal. I have been a little bit familiar of this
your broadcast provided bright transparent concept
Great article! We will be linking to this particularly great
post on our website. Keep up the great writing.
Hi there this is somewhat of off topic but I was wondering if blogs use
WYSIWYG editors or if you have to manually code with HTML.
I’m starting a blog soon but have no coding knowledge so I wanted to get advice from someone with experience.
Any help would be greatly appreciated!
Greate pieces. Keep posting such kind of info on your site.
Im really impressed by your blog.
Hello there, You have done a fantastic job.
I’ll definitely digg it and in my view suggest to my friends.
I am confident they’ll be benefited from this site.
Excellent beat ! I would like to apprentice while you amend your site,
how can i subscribe for a blog web site? The account helped me a acceptable deal.
I had been tiny bit acquainted of this your broadcast provided bright clear concept